To create or edit content, a form must be submitted.
Whether the content pieces are blog posts, news stories, or products, at some point you will need to create the content that makes up the volume of your website. In Backdrop, content is generally produced by putting text into a form which, when saved, creates and displays a new page on your site. These forms are named Content Types.
By default, there are three Content Types available: a Page, a Post, and a Card.
Page
A Page is a type of content used for information that rarely changes. The "About us" section of a website is often made up of Pages. A page is almost always placed into a menu for easy access. Unlike a Post, a default Page will not be featured on the site's initial home page, does not allow comments, and will not display the created date and the name of the person who created it.
Post
A Post is a type of content ideal for timely information about what is important to your organization. Press releases, news articles, and site announcements are often created as Posts. A list of recent Posts will automatically be featured on the site's initial home page. By default, a Post will include a comment form. A Post will also display the date it was created, and the name of the person who created it.
Card
A Card is a type of content useful for creating blocks of information that can be displayed in Layouts or Views. For example, the three blocks you see on the default Backdrop home page are examples of Cards (and they are being displayed by a View). A Card can have an associated image. Cards do not create a publicly accessible standalone page—they are designed to be displayed as part of some other page (and so usually contain only a small snippet of text).
Content Type Form
The Content Type Form provides several fields that are common across every type of content, but each may also offer distinct fields. The form for the default types of content, Post and Page, share some common elements such as the title field, body field and the vertical tabs at the bottom left of the form. However, this form can be modified for any type of content by adding new fields.
The following is a summary of fields found in the Post content type on a fresh install:
- Title - a short text field to title the page
- Body - a long textarea field, which will contain the main text
- Tags - a taxonomy term reference field, which allows content to be categorized
- Image - an image field, for uploading an image to be featured prominently along with this post
The Title Field
The Title field is similar to a headline and appears above your body text.

The Body Field
The Body field is a large textarea field common to all default content types. Content entered into the Body field forms the actual "story" of your content.
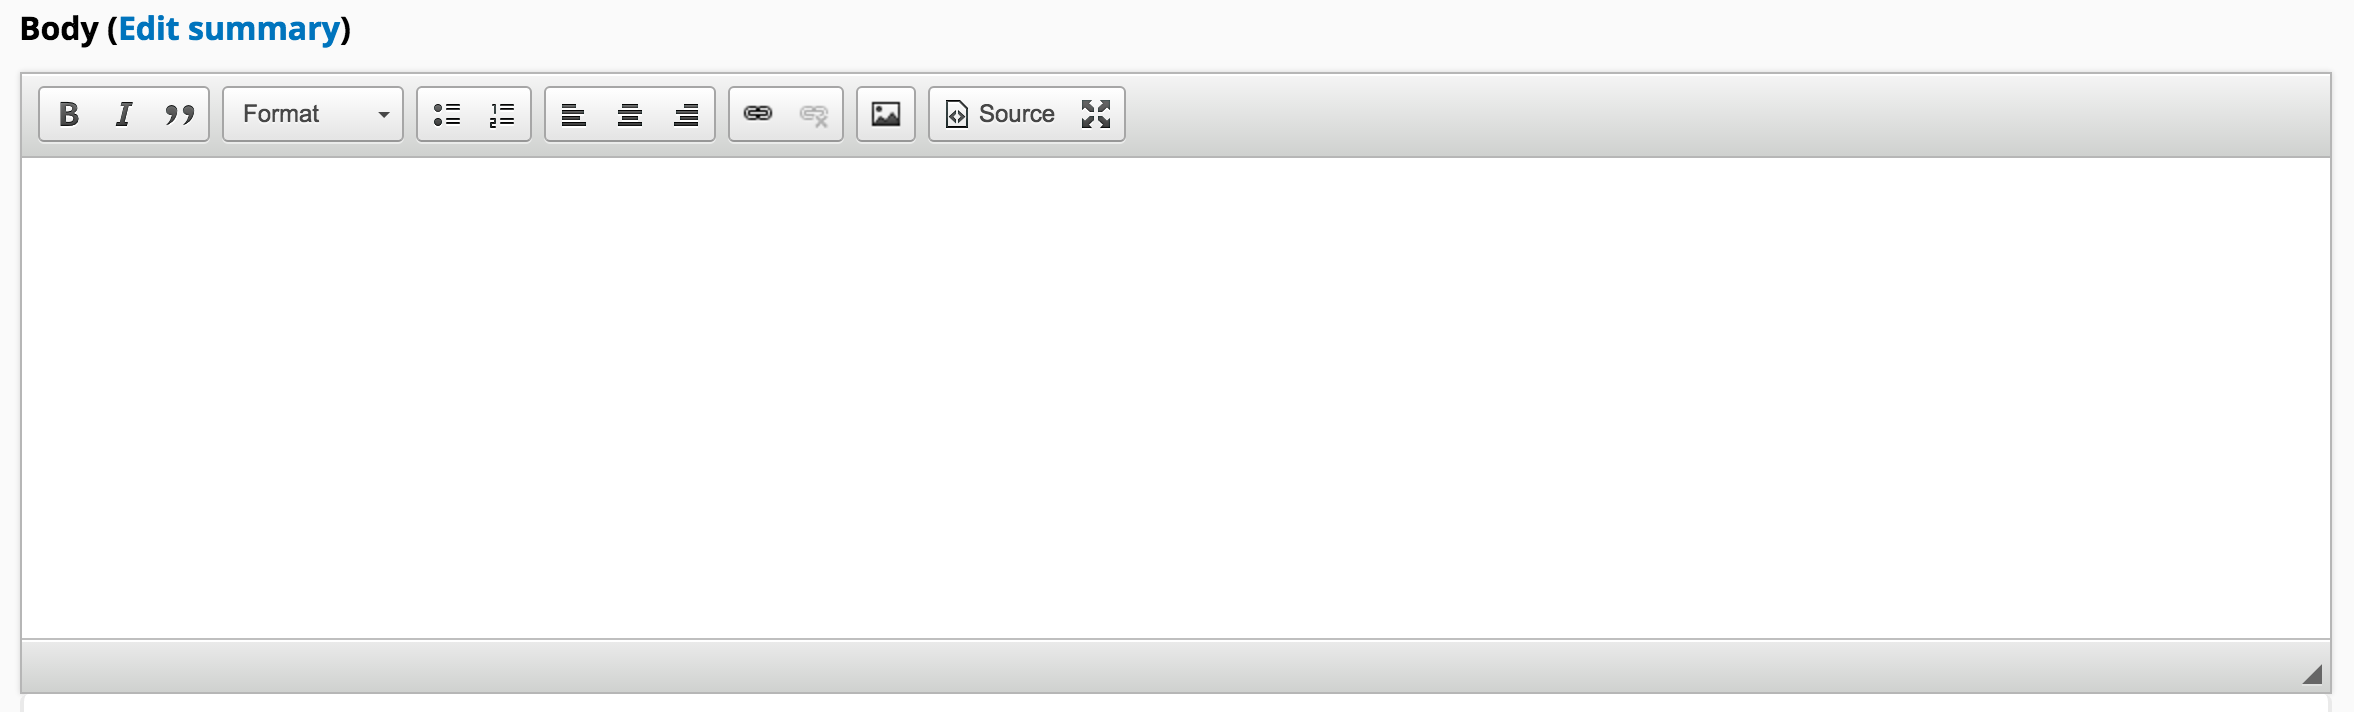
The Body field can be expanded to provide a Summary (often used in the "Teaser" display mode) portion of your content by clicking on the Edit Summary link.

(Read more about Summaries and character limits)
The body field includes a Rich-Text Editor by default (sometimes called a WYSIWYG editor) for text entry.
![]()
The Formatting Options below the textarea determine what filters will be applied to the text in the Body field. There are two default options: filtered HTML, and full HTML. The Full HTML editor can be dangerous and should be limited to trusted users only. More options can be created as needed. (Read more about Text formats, editors, and filters).
Settings for Content
The vertical tabs at the bottom of the form contain additional settings for the content being created. The default values for most of these options can be set globally by content type. (See the Content type documentation for more information).
Here are some options you will find in the vertical tabs for a Post:
Publishing Options

Publishing options define if, how, and where content can be viewed on your site.
- Published content is visible to all non-privileged viewers.
- Promoted can be used to limit a list to only what's most important (used on the home page by default).
- Sticky at top of lists can be used to pin important items to the top of a list, in spite of other sort criteria (used on the home page by default).
Authoring Information
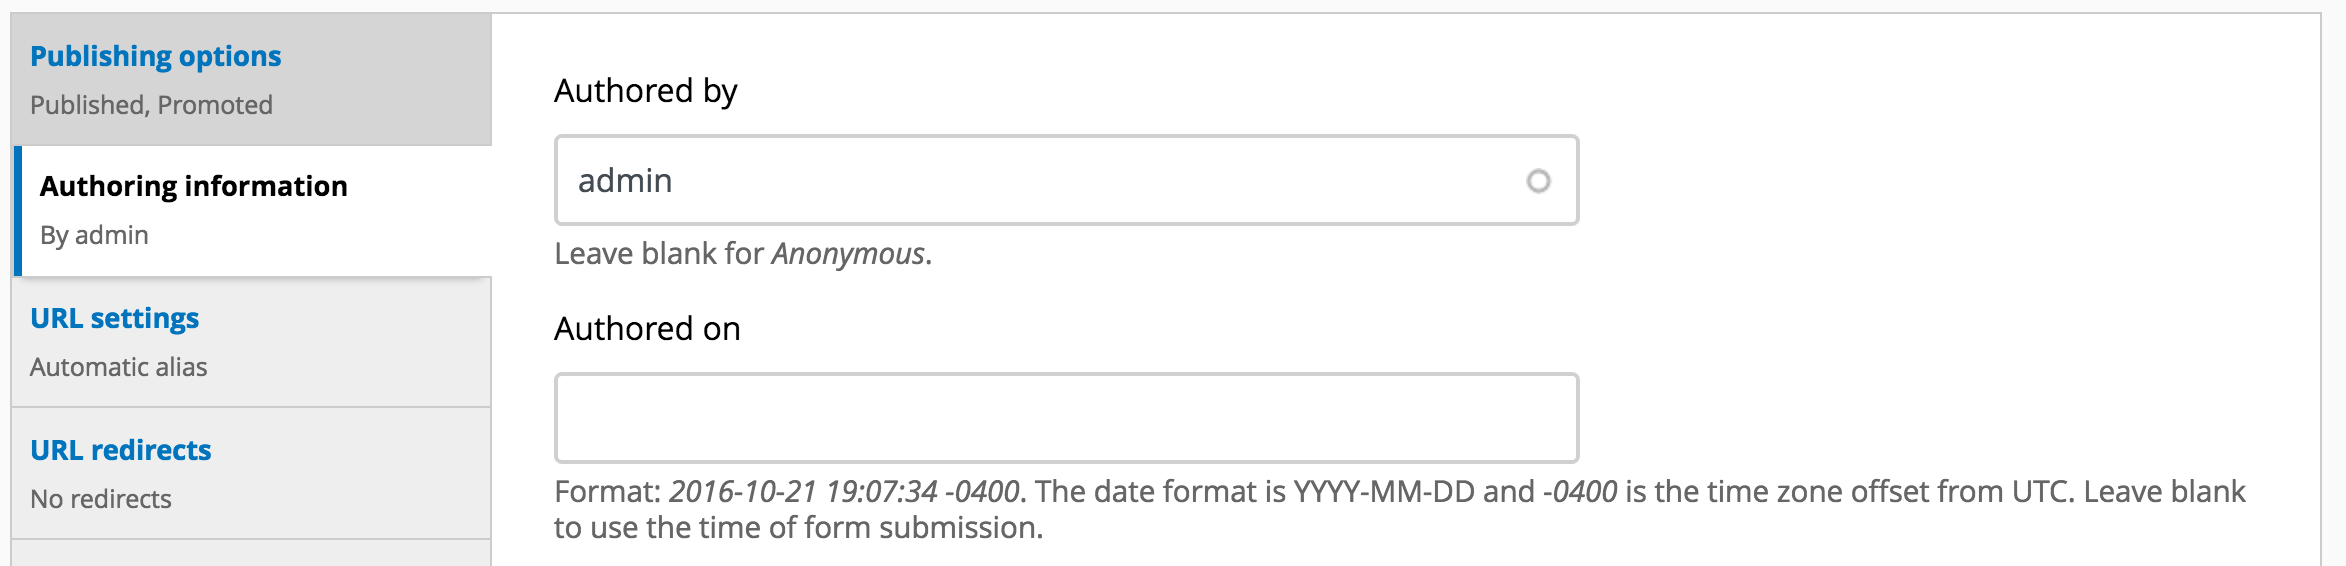
This section identifies who created the content, and when. User accounts with sufficient permissions can alter the author and publication date here, in a pinch.
URL Settings

The URL settings allow you to define a specific URL for your content. The internal system path for all content in Backdrop is in the format "node/NID", where NID is the unique identifier for each piece of content. This tab is where you can create a "URL alias", or an alternative URL by which this content can be reached. A URL alias will create a more memorable URL than the ugly system "node/NID".
Content can be configured to have URL aliases automatically generated too. If this is the case, a predefined pattern will determine what the URL alias for your content will be. Pages, for example, will automatically have their URL alias set based on the title of the page. In the URL settings for a page, you will see a checkbox labeled "Generate automatic URL alias". If unchecked, the URL alias will not be generated automatically and the URL alias field becomes available again.
URL Redirects
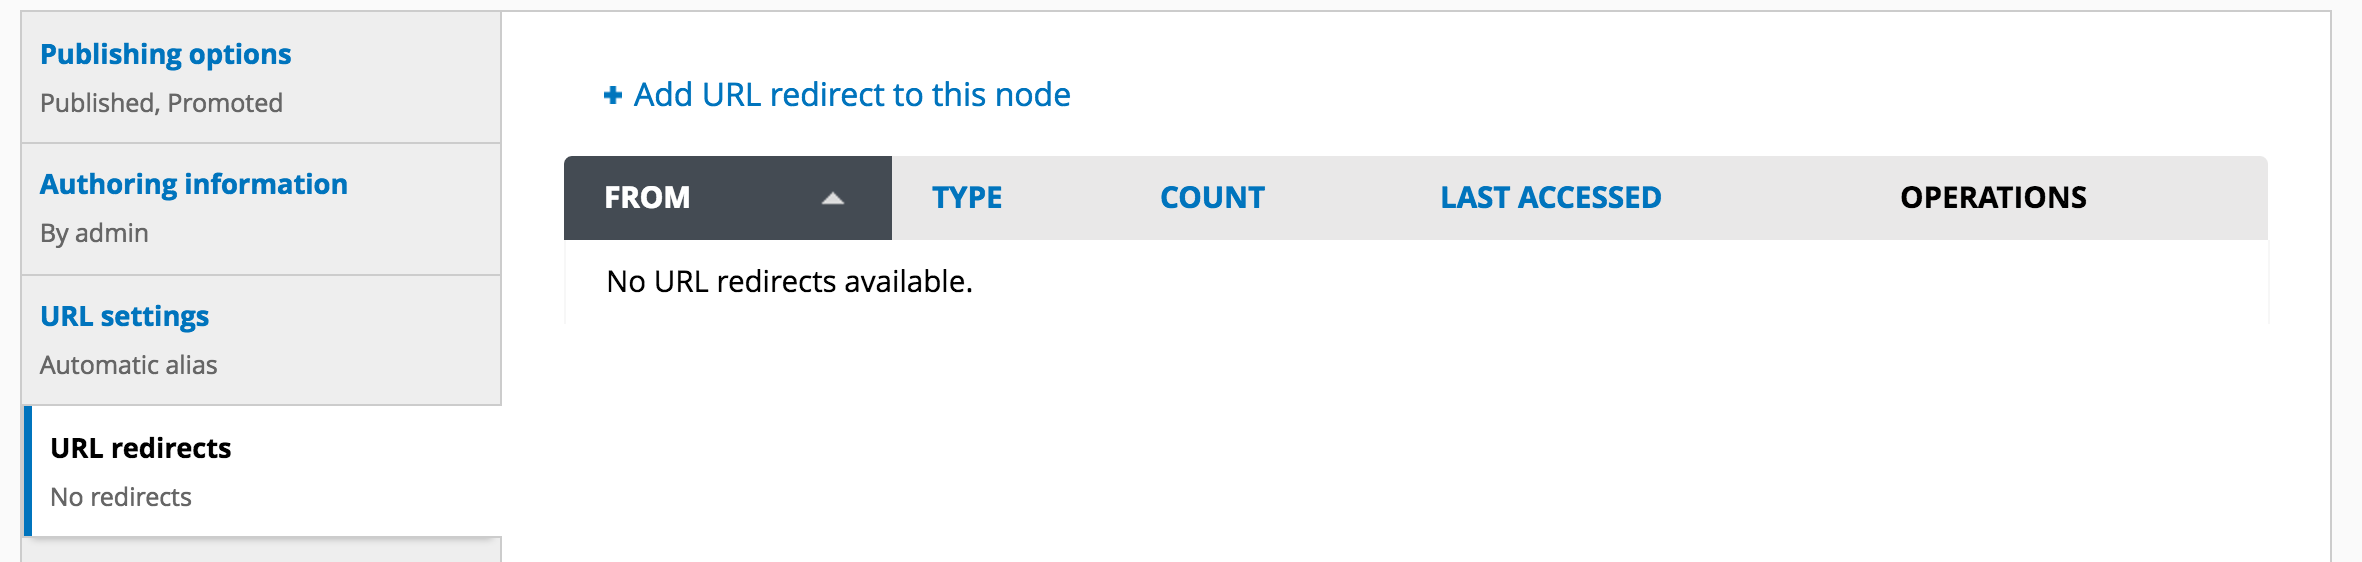
URL Redirects allows setting a redirect to this node. This comes in handy when a page that your visitors frequent has changed and you would like them to land at the new URL.
Menu Settings
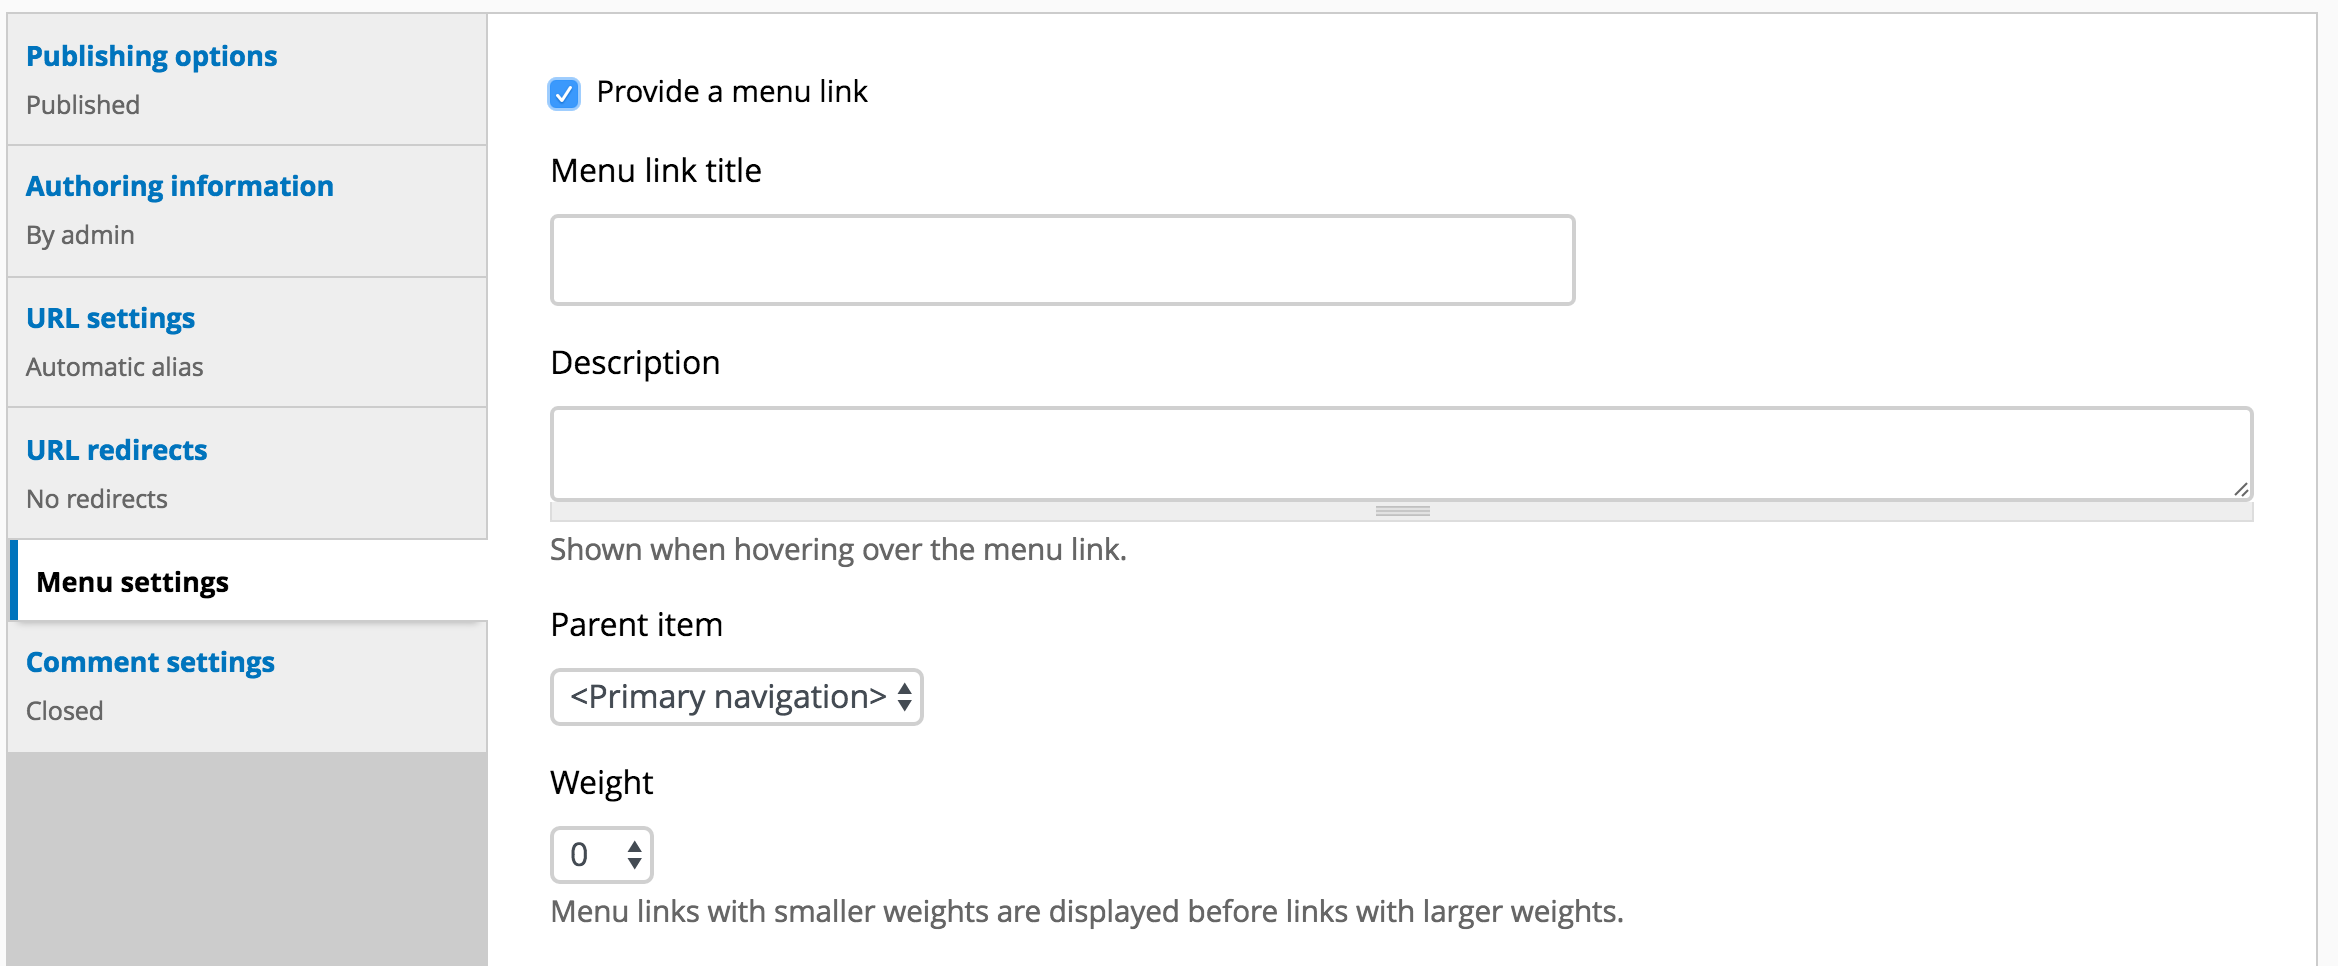
Menu Settings are used to include the content as an item in one of your menus by providing a Link Title and a Description and identifying which menu (Parent Item) it will appear in. The Link Title is the text that will appear in the menu and the Description is what will appear when a user hovers over the menu item.
Comment Settings
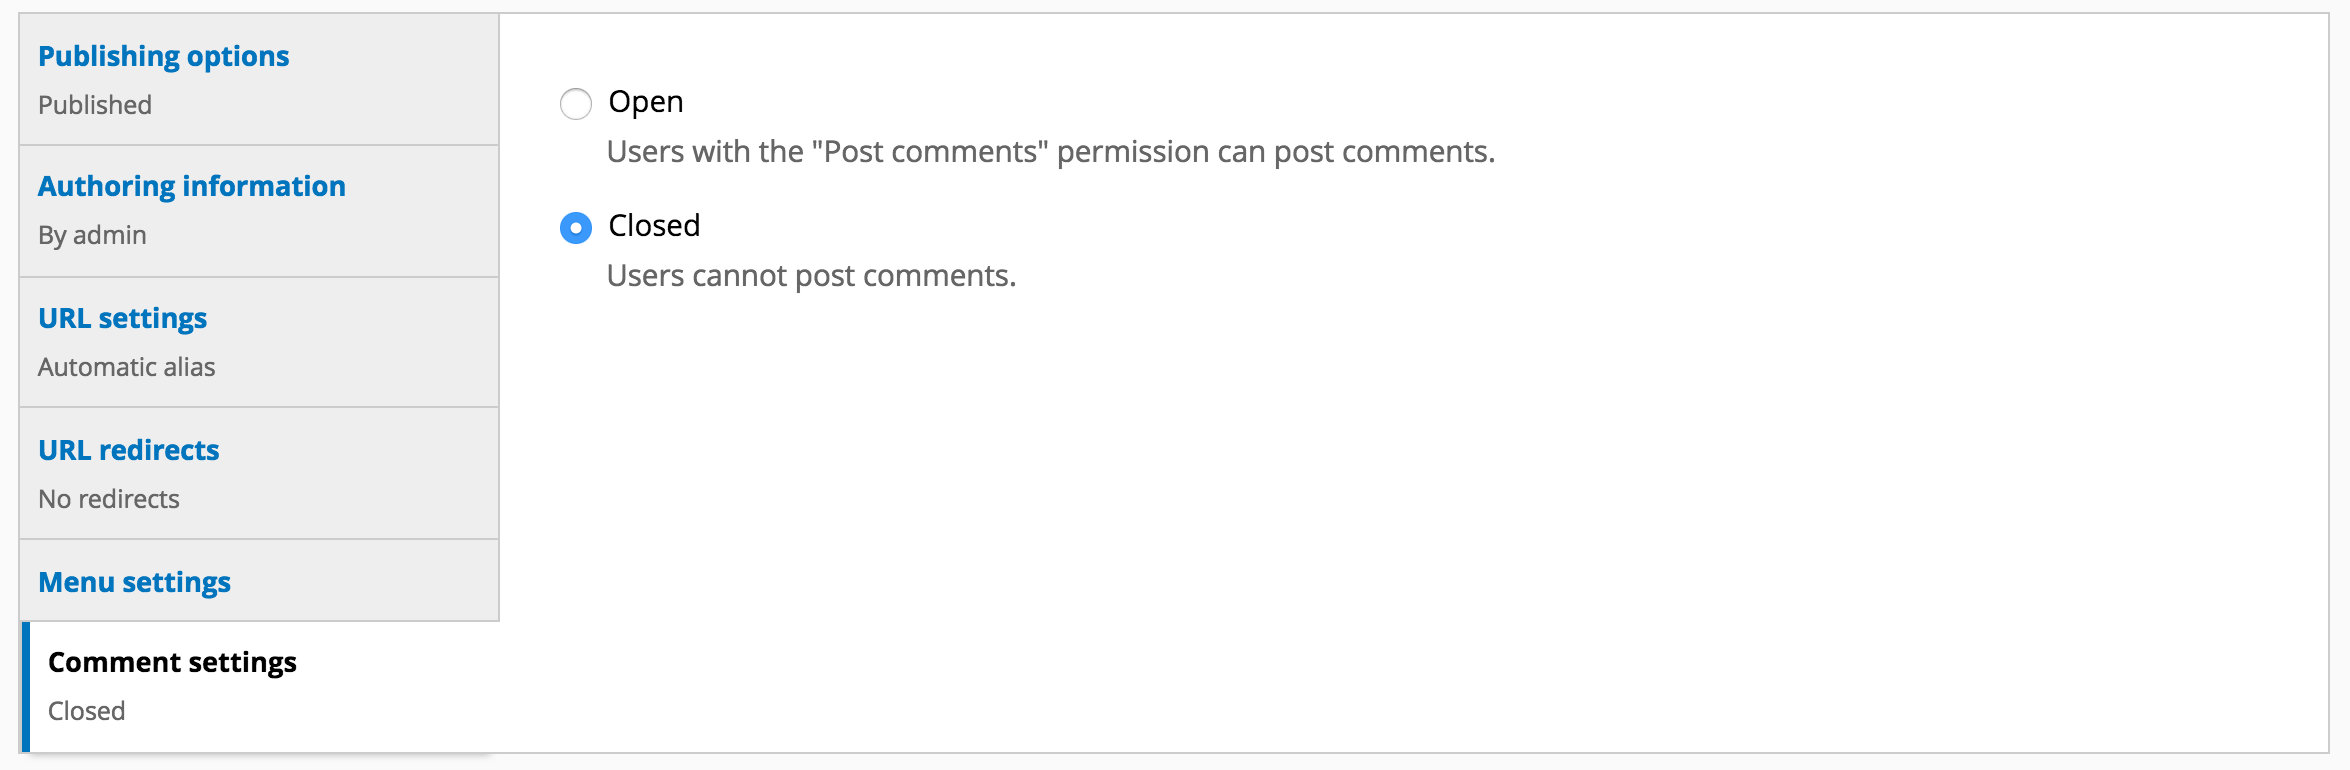
Comment Settings determine whether users are allowed to comment on this piece of content. This is turned off by default for Pages.
Saving and Viewing Your Content

Click the Save button to ensure your content is saved. Note that until this is done, the content can be lost if the page reloads or if you navigate away. It is a good idea to save your content often to prevent your changes from being lost. If your post is not ready for public viewing, save it as unpublished. Once it is finished, it can then be published.
Once saved, the content will be available at the URL alias which you set, or as an entry in the Menu system if you provided a menu link. Otherwise, the content can always be located in the administrative content listing by clicking Content in the Admin Bar.