Installation
For help getting Backdrop installed on a webserver, see Installing Backdrop.
Logging in
To control your site, use your favorite browser to go to your home page (http://www.example.com).
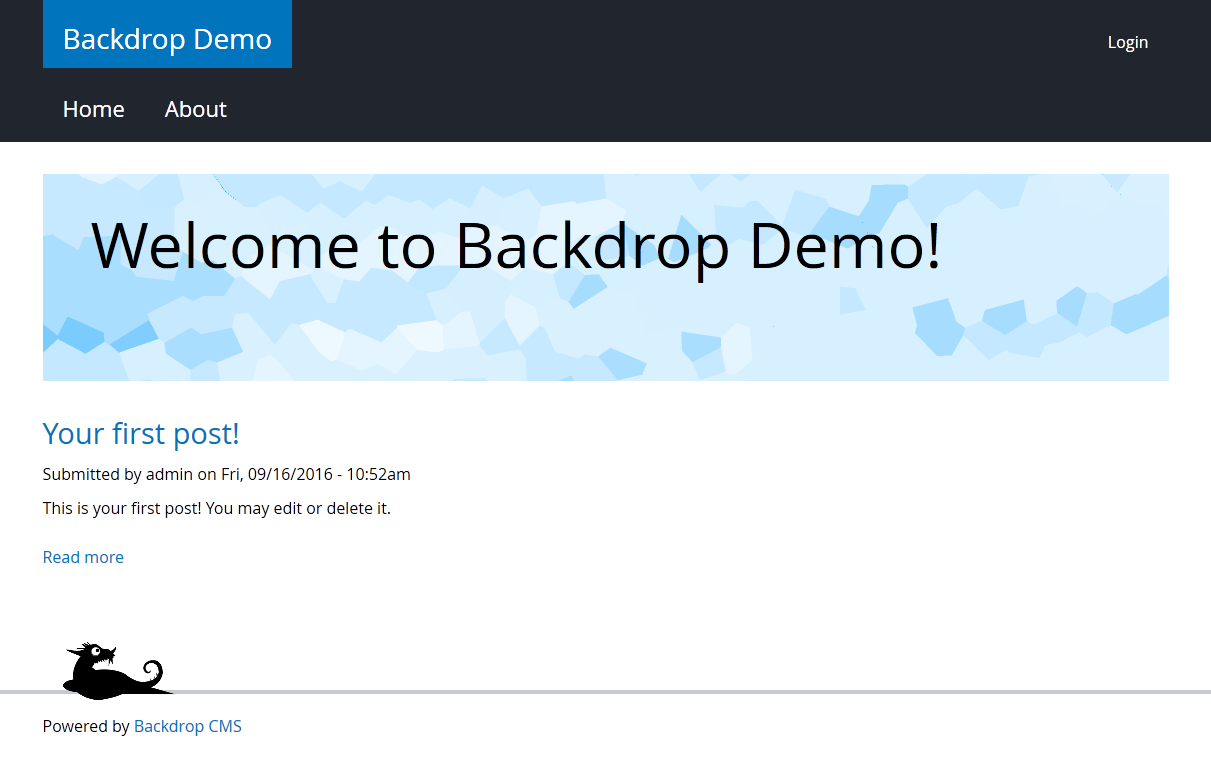
If your home page does not have the word 'Login' in the upper, right-hand corner of the page, you can navigate to the login page via example.com/user.
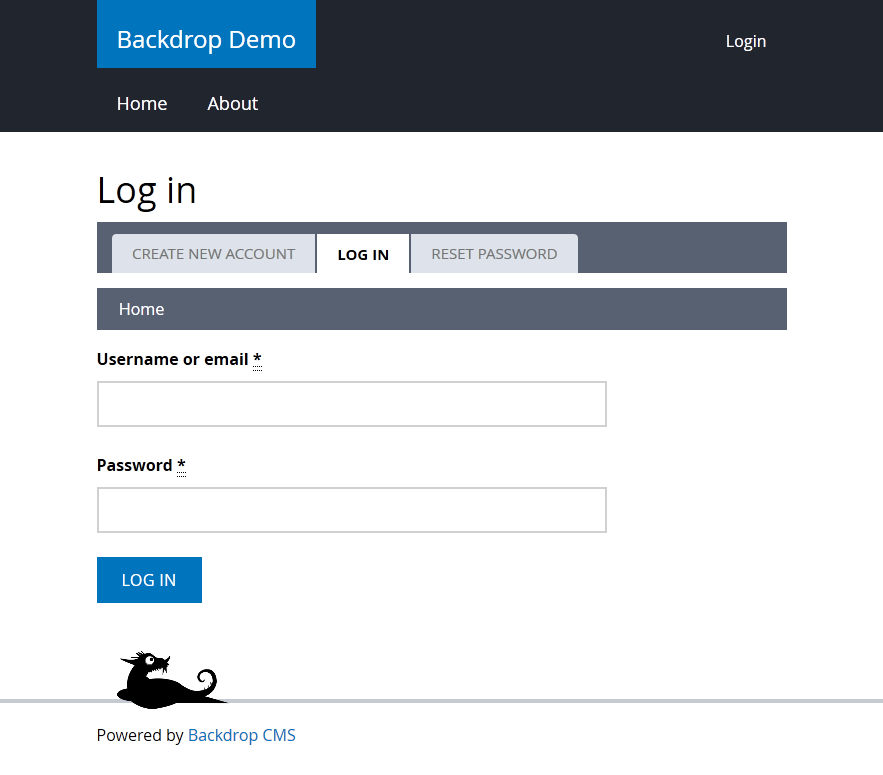
Once you have logged in with your username and password, some extra items will appear on the page, across the top of the page:

A narrow horizontal band, called the Admin Bar, will appear across the top of the page containing the administrative menu displaying the options available to you. The items you see in the admin bar is limited by user permissions the site administrator has granted you. The sections below will explain more about these items: Content, Structure, Configuration. (Read more about the Admin bar)
Managing content
In this section, we walk through some of the basic operations, with the aid of screenshots taken from a simple working site. Because of the flexibility of Backdrop, it is possible that your site will not look exactly like this, but the administrative menus and functions should be the same or very similar.
Adding content
To add content click the Content > Add Content link in the Admin Bar. You will see a listing of all the types of content that you have access to create, by default there will be a Page and a Post. Pages are ideal for permanent content, like an "About us" page, whereas Posts are good for time-sensitive stories and articles which may eventually become outdated and archived. Click on the Page link to create content of type page.
Backdrop CMS provides a Rich-Text Editor. Above the Body field, you will find a set of tool icons similar to those you get with a word processor.

Within the text editor, you can type any amendments or additional text to see approximately what it will look like on the final page. In addition to the familiar icon buttons, there are two formatting 'drop down' menus shown here – 'Format' and 'Styles.' These enable you to select different formats or styles for headings, paragraphs, phrases or words. These are explained in more detail later in this guide, as too is the addition of images.
The lower part of the edit page (see below) has a set of vertical tabs containing additional settings for each piece of content. You may not see all those shown in this example because you may not have all the required 'permissions.' For example, the publishing option tick-box that enables you to have the page 'published' or 'not published' is only visible if you have high-level administrative access.
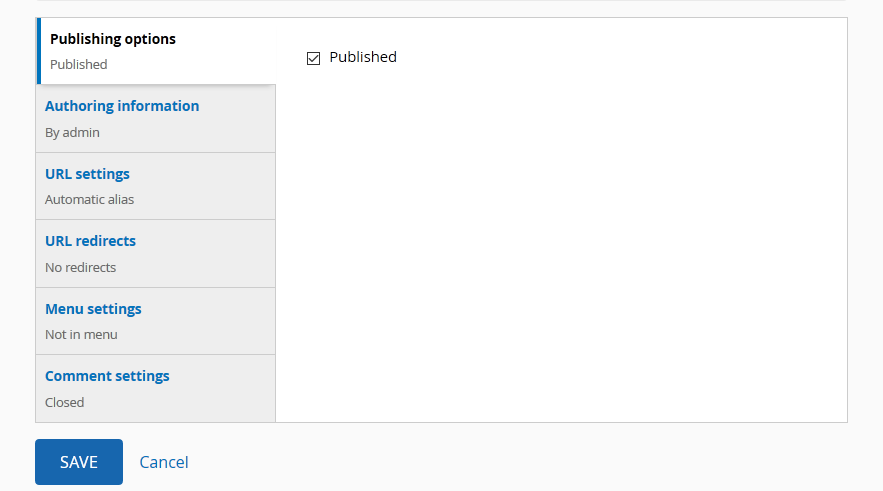
Perhaps of most importance is the 'Save' button at the bottom left of the edit page; you must use this before leaving this page or your changes will be lost.
Where did my Post go?
Some web software builds content like a book, where each item has a parent item and a menu link so that it is obvious where your new content belongs. With Backdrop every piece of content is a self-contained node and does not have a menu link by default. Once you have created content, it may be difficult to figure out “where” your post has gone.
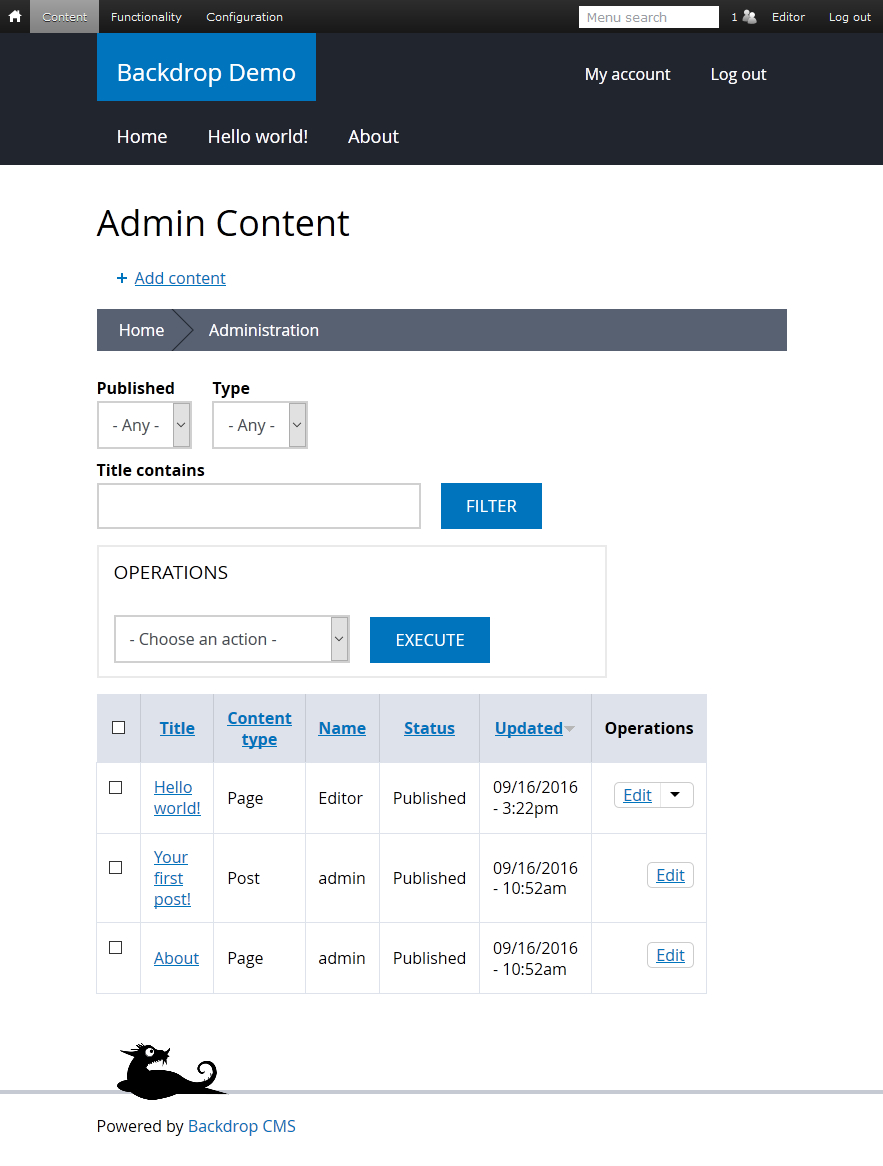
All content can be found by clicking the “Content” link in the black Admin Bar. If you have created and saved any content at all, it will be listed on this page.
Content that has not been added to the menu is only accessible to others if they knew the exact URL to access it. One way to make content easily accessible is to give it a link in the Main Menu.
Editing content
Once you are logged in, the system will show 'edit' links to any content you are permitted to edit. But first you need to be able to find the item, and there are basically two ways of doing this.
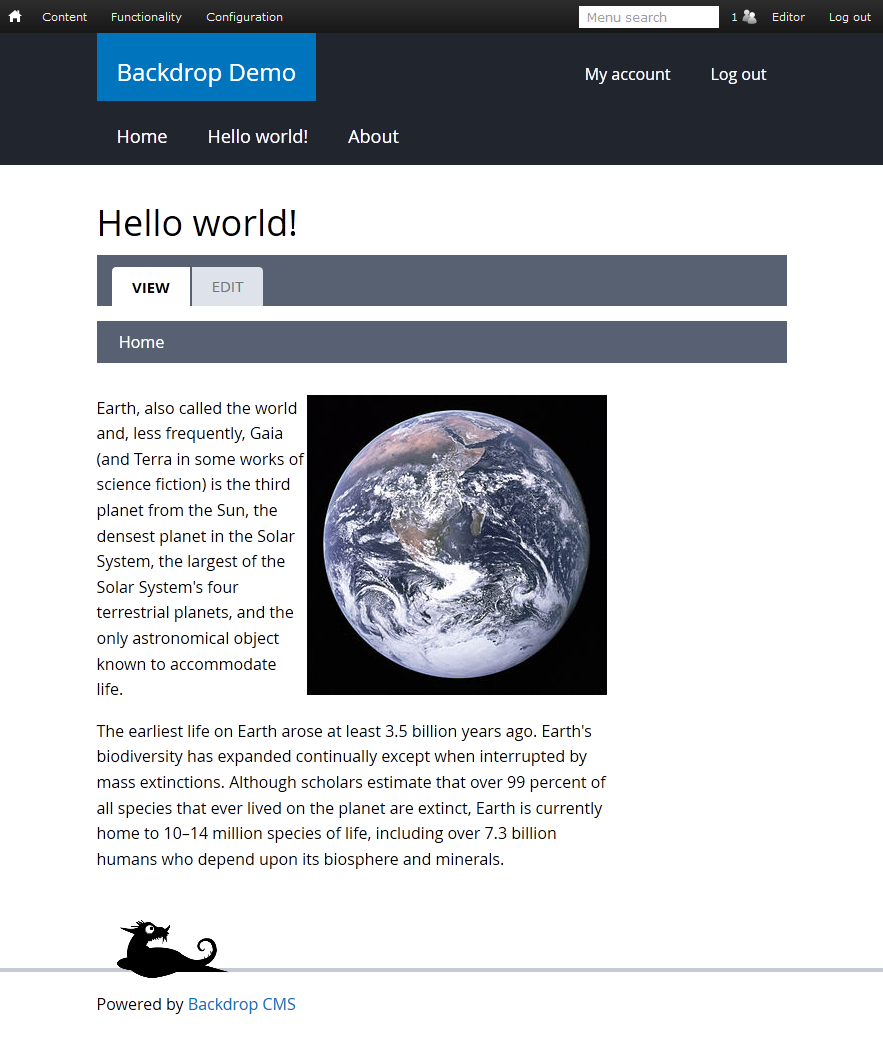
Method one is to navigate to the page you wish to edit, then click the edit link shown on that page. In the example below I have selected 'Hello world' in the Primary Navigation and this takes me to the page, Because I am logged in there are admin tabs 'view' and 'edit' showing immediately below the article's title, as shown here. Selecting 'Edit' takes me to the edit page – see next page of this guide.
Method two is to select the page from the administrative list of content in the system. Do this by selecting Content > Find content from the admin menu across the top of your page, to reveal the Admin Content listing, as previously shown above. From this listing, we can select the 'Edit' operation from the drop-button at the right, and thereby open up the same edit window (shown on the next page).
Adding a page to the menu
Usually Pages get an entry in the Primary Navigation menu, but Posts do not. When creating or editing a Page, there will be an option within the vertical tabs to “Provide a menu link”. Checking this box allows you to provide the link text and choose the menu. The Primary Navigation menu is the default for Pages, but there may be other options. Backdrop can easily handle any number of menus, but administrative menus will not usually appear in the available choices.
If for example, you have just created an About Us page, a reasonable menu link would be simply “About us” placed into the Primary Navigation menu.
Paths
Backdrop automatically builds paths for your content as you save them. For example, saving a page with a title of “About Us” automatically generates a path ‘about-us,' and your About Us page would then be accessed by typing my-website-address/about-us into your browser address bar.
Pages created by Views
Not every page that you see on a Backdrop site is listed in the 'Admin Content' page. Some pages may be constructed dynamically on demand by the Views module - for more information read the Views chapter in this User Guide. These pages can be edited in different ways, either by changing the underlying content that is provided by nodes listed in 'Admin Content', or by editing the view itself, the latter being a task for the more advanced user.
The Views module also can also dynamically create Blocks forming part of the page appearing on the site. The use of Blocks is described here.
Changing the design of your website (themes and layouts)
A Backdrop website can assume a very wide variety of appearances. The site design can be affected by the site theme and by the layout set for a given path. Find more information about themes and layouts in the detailed documentation.
Layouts
By default, there are three layouts provided on a new site: one for administrative paths (the Default Administrative layout) one for the Home page, and a third for all the other paths (the Default layout).
The template used for the Default layout is the Moscone Flipped:

By default, all the pages on your site will use this template. If you want all the pages on your site to use a different layout, change the default template via Structure > Layouts > Default > Settings. To have a two-column sidebar, for example, select Taylor.
If you wish to use a different template on only one specific path, you can also create a new layout for only that path, and assign the template.
Setting a single column layout for an About Us page
Let’s suppose we have an existing Page titled About that has the path 'about' (see above on how to create a page). Let's suppose we would prefer that there be no sidebars for this one page. The simplest way to accomplish this is to create a new Layout for our About page and assign a single column template.
Go to Structure > Layouts and click the “Add layout” link.
- Add a name for this layout (“About us” may be a good choice)
- Select the Boxton template.
- For the path, input ‘node/%’
- Add a visibility condition to limit this layout to only the About page. There are two ways to do this:
- Choose "Content NID" and enter the node ID for the About page. (The node ID can be determined by editing the About page and viewing it's URL. The node ID is the number in the middle. For example, in 'node/2/edit' the NID is 2.)
- Choose "URL Path" and enter 'about'. (this method is less reliable as the path for the About could be changed)
- click “Create layout”.
- You will be taken to the next screen where you can decide what other content you want on your about page. Remove or add blocks as needed (perhaps add a “Custom block” with some text about you, your company or your website) and click “Save layout.”
That’s it! Now anyone who visits the About page will find no sidebars.
Using Project Installer to find a new theme
So now you’ve created some content and laid out your website with layouts. A common next step is to change the appearance of your site with a new theme. Backdrop by default includes only the core “Bartik” theme and a few very basic themes, mostly useful for developers and admins. However, it is easy to get more themes from the theme repository at BackdropCMS.org via Project Installer.
To do this go to Appearance > Install themes and browse the available contributed themes. Once you have identified a suitable theme, add it to the queue and follow the install wizard to install and enable it. More information about Project Installer is available.
Setting user permissions – who can do what
What you can and cannot do with your website is very rigorously controlled by Backdrop's system of User Permissions. You may have only been granted permission to edit certain pages on the site, or you may have full editorial control over all the content; your System Administrator will have set these permissions, which are for the benefit of all since they restrict inadvertent change to something on the site. If there is something you need to change but cannot, ask your System Administrator whether you can be authorized to do so.