Modules can add new features to your Backdrop site, or extend and improve existing functionality.
The are three different types of Modules that can be used on any Backdrop site: Core, Contributed, and Custom.
Core Modules
Core modules are those that have been adopted by the Backdrop development team and are included when you download and install Backdrop for the first time. To see what modules were enabled by default, go to Admin > Functionality > List Modules on a fresh Backdrop install.
Here you will see a listing of all the core modules. Those with blue completed checkboxes are already enabled.
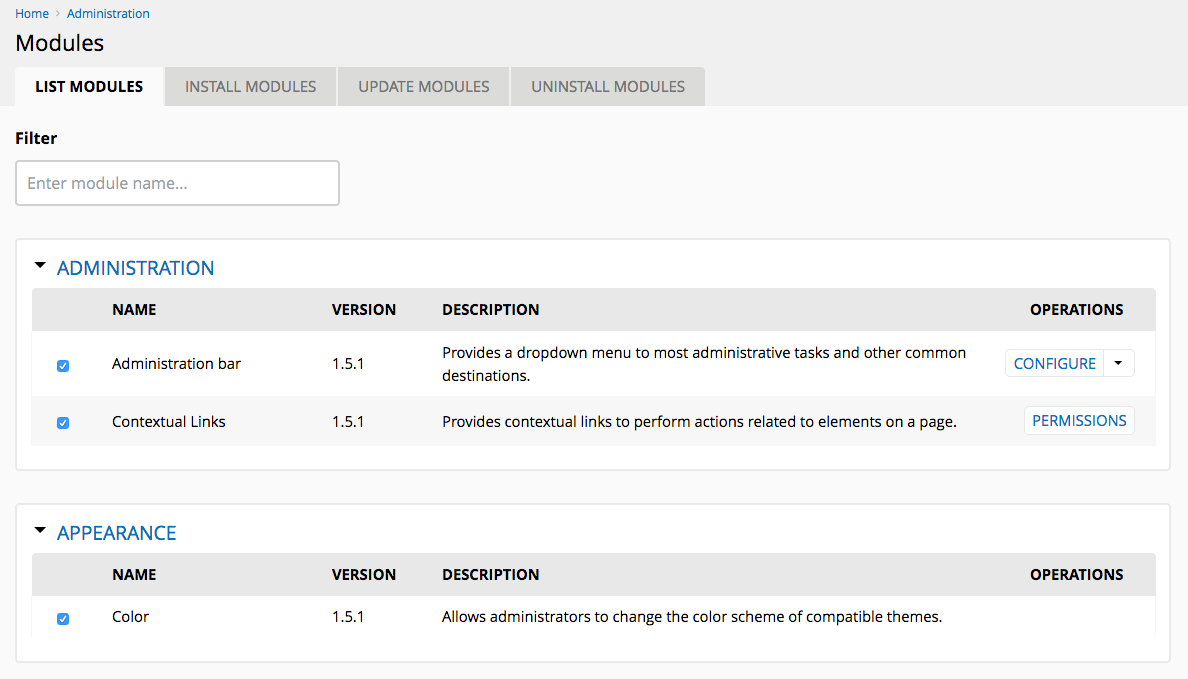
Not all core modules are enabled by default. For example, the Translation modules Content Translation, Language and Locale are part of core and installed but not enabled. You can enable and configure them if they are needed for your project.

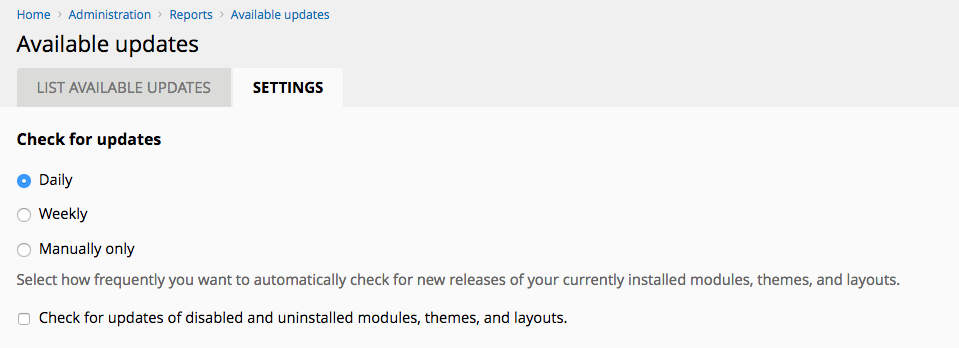
If you need to see what you can change or customize with a particular module, in the Operations column you will select the Configure link.
For example, in the Update Manager module configuration, you can choose how often Backdrop will check for updates: Daily, Weekly or Manually Only.
Contributed Modules
Contributed Modules can greatly extend what your site is capable of doing by adding features not included in core. They are called "Contributed" because they are created and maintained by members of the Drupal and Backdrop communities. Not all contributed Drupal modules are available as Backdrop modules, but more are being ported every week.
To see what Contributed (or contrib) Modules you have to choose from, select the Install Modules tab on the /admin/modules page or access it through the admin bar at Admin > Functionality > Install Modules.
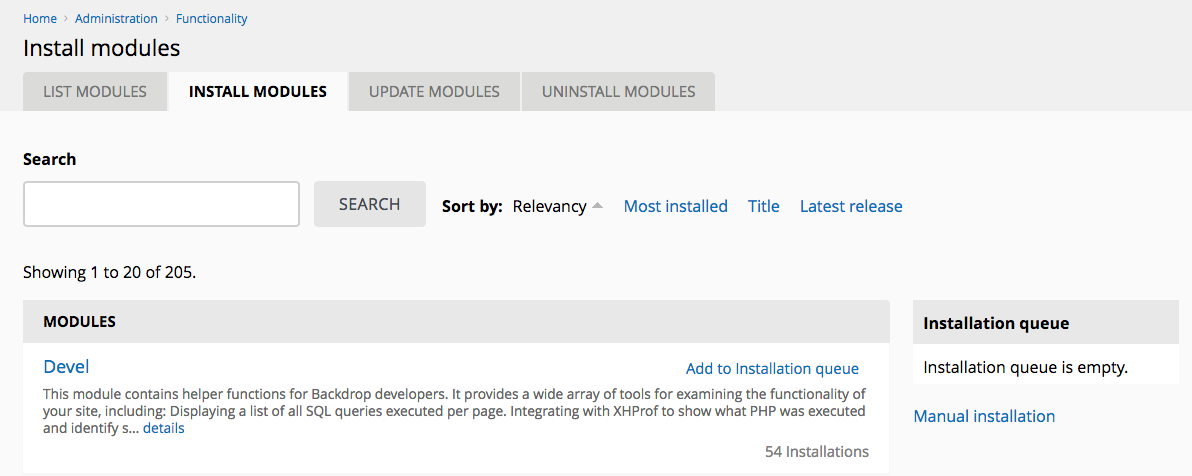
On the Install Modules page, you can Search for a module by name or sort by Most Installed, Title (alphabetical) or Latest Release.
Installing a Module
To add a module to a Backdrop website, select the Add to installation queue link to the right of the module's description. If you have many modules to add, you can add them to the Installation Queue and install them all at once instead of one at a time.
For example, to install both the Honeypot and Webform modules, find both the modules in the contributed modules list and add them to the installation queue.
Once added, they will show in the Installation Queue on the right of the Install Modules page:
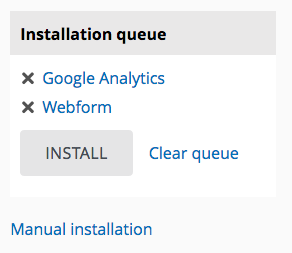
Once you click the Install button, you will get a message to back up your databases and site to protect your site.
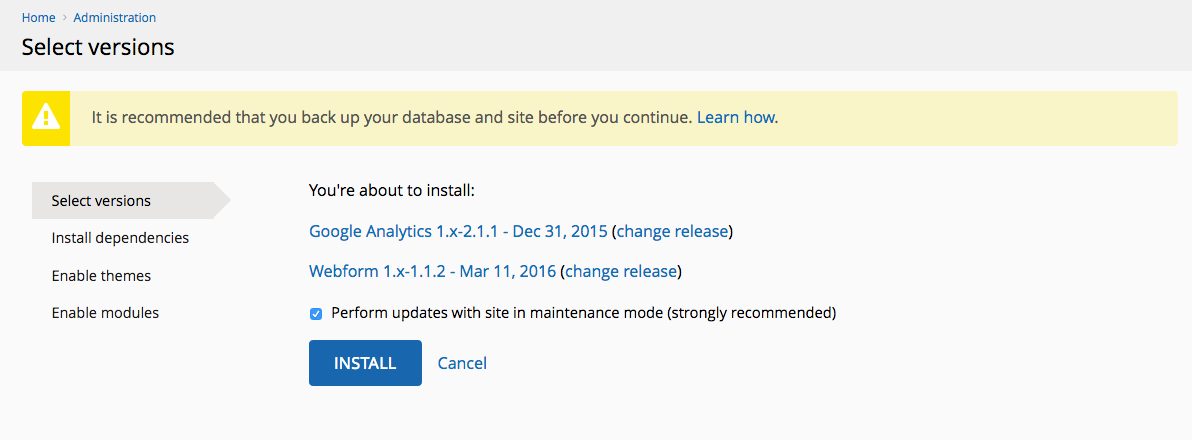
Click the Install button and Backdrop automatically installs the chosen modules and any necessary dependencies.

Once installed, choose whether to Enable Modules or Finish without enabling.
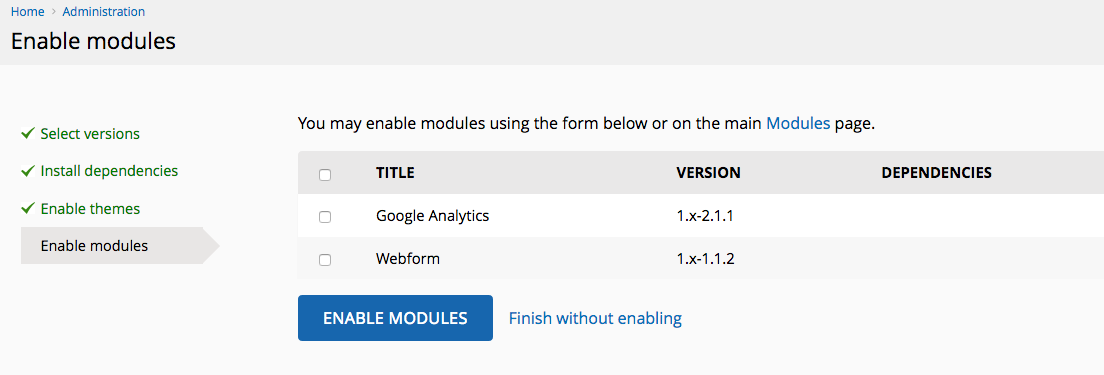
In this case, we enabled the two and can look at the List Modules page to see that the Google Analytics module is enabled. This particular module would still need to be configured to link up the site with a Google Analytics account.

Uninstalling a Module
To uninstall a module, deselect the module on the List Modules page and click Save Configuration at the bottom of the page.

Once deselected and saved, navigate to the Uninstall Modules tab or via Admin > Functionality > Uninstall Modules to see that the module is listed to be uninstalled.
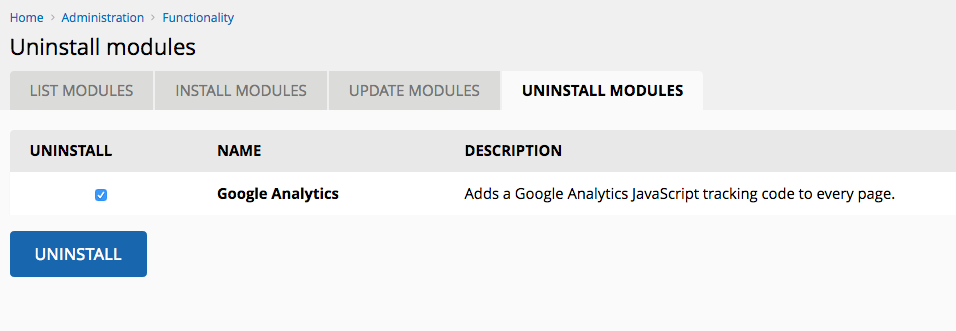
Select the module then choose Uninstall. The next page verifies that you really want to uninstall the module and continue to remove it.
It really is that easy!
NOTE: Uninstalling the module does not remove it from the web server. To do that, you'll need to know how to FTP into the server and delete it from there.
