One of the most powerful features of Backdrop is the ability to create custom Content Types. Custom content types allow you to make highly-customized sites that exactly match the needs of your information and audience.
To create a new Content Type, navigate to Administer > Structure > Content types and Click Add Content Type.
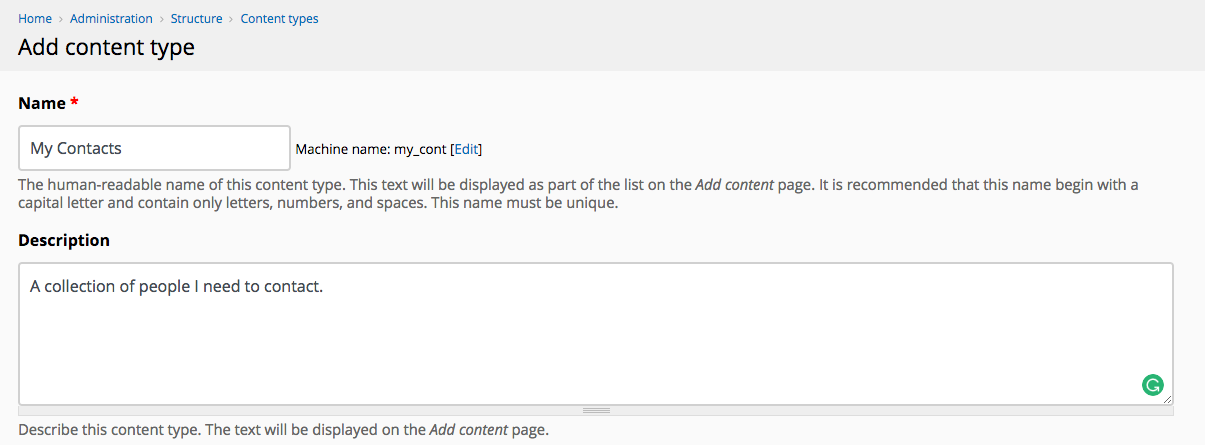
Add a Title and Description
In the Name field, add a name for the content type. The name is required.
Note that if you start entering a name into the name field, a "machine name" starts showing to the right of the title. To edit the machine name, click the edit link. In the Description field, you can write a description of the content type that will show up on the Add new content page (Administer > Content > Add new content). The description is not required.
Set Default Values
Set your preferred default values for this content type. Any content that you create of this content type will have these values by default. The values can be overridden for each content created. You can specify default values for Submission form settings, Publishing options, Display settings, Comment settings and Menu settings.
Submission form settings
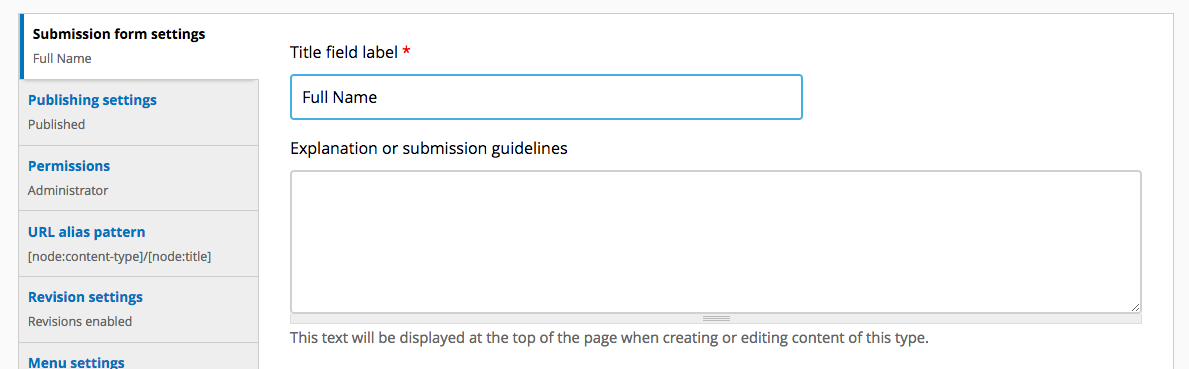
In the Title field label, you may add a title for your content type. For example, if your content type is "My Contacts," you can choose a title of "Full Name." Note: The default for this field is "Title."
Publishing options
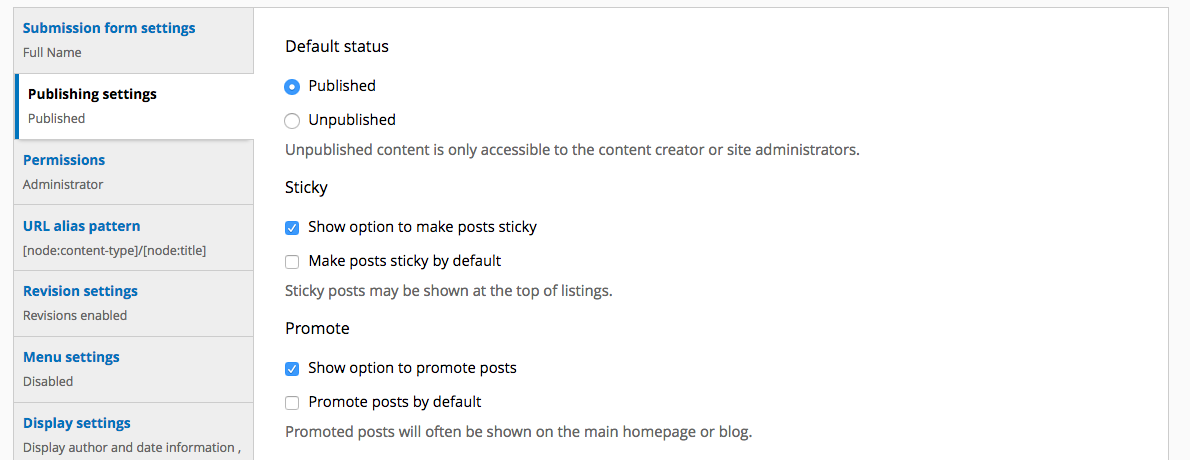
The default publishing options are Published, Show option to make posts sticky, and Promoted. The latter two sets of options ("Show option to make posts sticky", and "Promoted") do not always have any visible effect on node creation. These are legacy options from earlier versions of Backdrop where the front page of the site was always a simple list of node summaries. In more recent versions, the front page is rarely a simple list and is more often a custom design or a View.
- Published: this option determines if new nodes of your new content type will be published by default
- Sticky: This field will be used to determine if posts will "stick" at the top of simple lists of nodes.
- Promoted: This determines if the node is displayed on the front page
Permissions
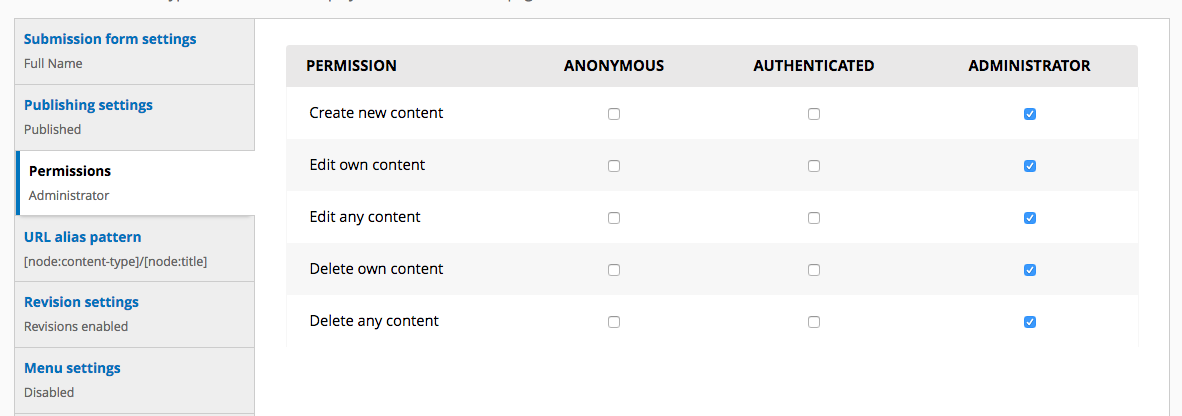
The Permissions matrix allows choosing which roles will have access to use this content type. The permission options for each role are:
- Create new content
- Edit own content
- Edit any content
- Delete own content
- Delete any content
URL alias pattern
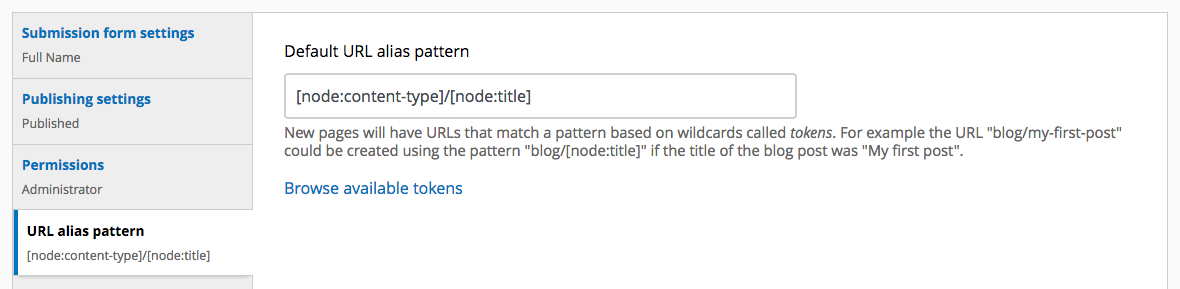
Nodes are by default published with a path in the format "node/NID" where NID is the ID of the node. The URL pattern field allows new nodes of this content type to have a custom URL. New pages will have URLs that match a pattern based on wildcards called tokens. For example entering the pattern "blog/Creating a New Content Type" into this field would mean the URL "blog/my-first-post" could be created using if the title of the blog post was "My first post".
Revision settings
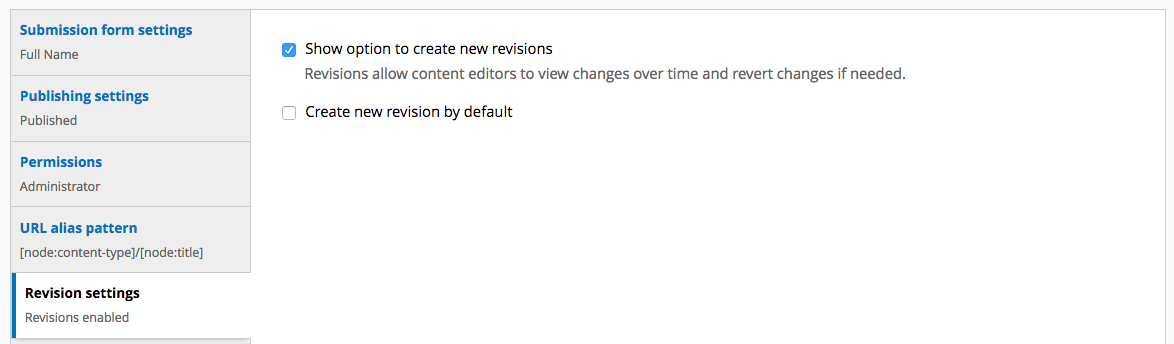
The Revision settings field determines whether nodes of this type will be allowed to have revisions and whether revisions will be enabled by default.
Menu settings
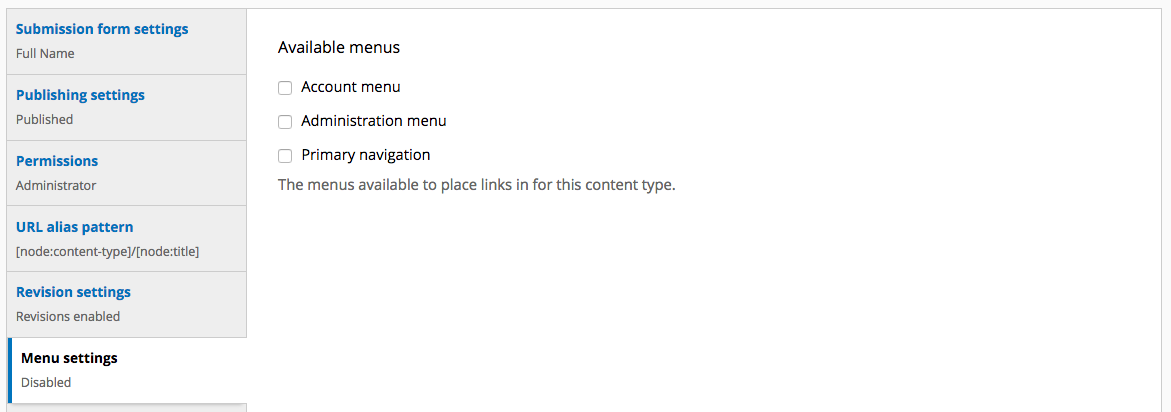
In the Menu settings you can choose which default parent item to use. This comes in handy when using taxonomy in your site.
Display settings
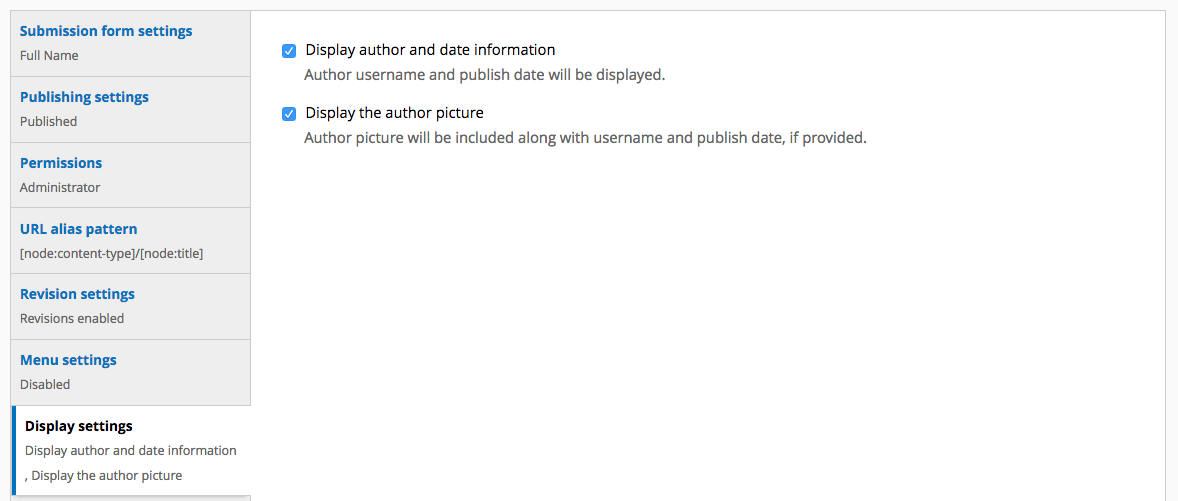
The Display Settings has one option which allows the Author username and publish date to be displayed with the content.
Comment settings
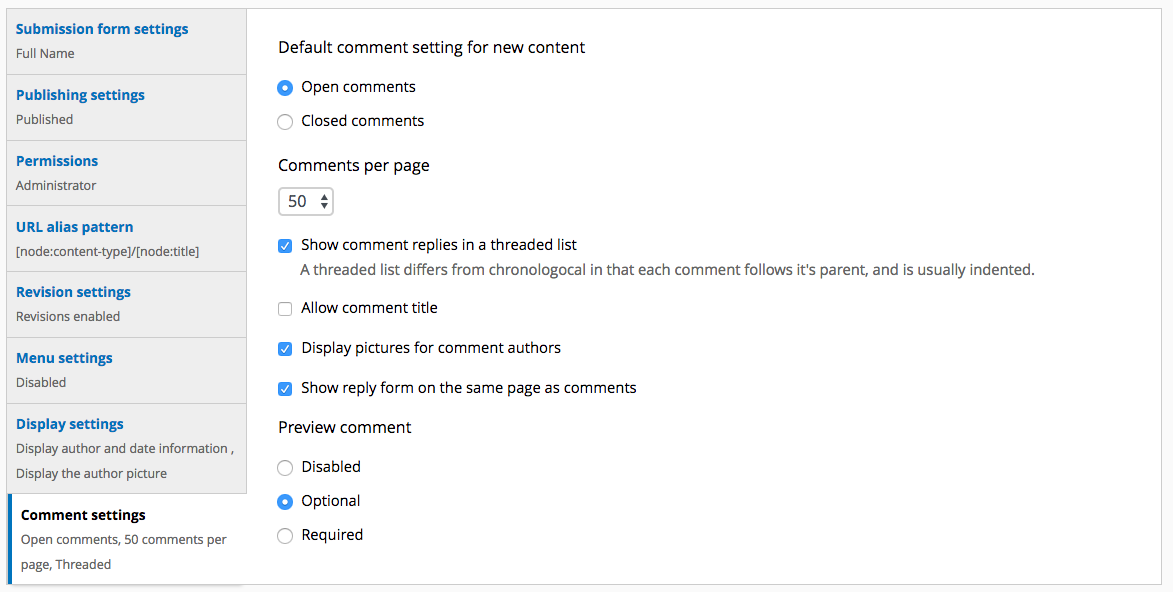
There are many options available in the Comment settings. The default values allow for 50 comments to be published per page in a threaded list. If you're a beginner, you may want to keep these default values.
Save the new content type
Do one of the following:
- To create the content type using only the title and body fields, click . You can add more fields later.
- To create the content type and begin adding more fields, click